Explore Desktop Getting Started
Installation & Setup
Windows
-
Download the latest Explore Desktop version from GitHub (file ending with _windows.zip).
-
Unzip and run the installer—follow on-screen prompts.
-
The app will install into an Explore Desktop folder in your system.
-
Once installed, Explore Desktop will reside in the Explore Desktop folder in your installation directory.
-
On Windows, we recommend using Explore Desktop with the 100% scale. If you change the resolution, content can appear blurry or pixelated.
macOS (Intel & Apple Silicon)
-
Download the latest disk image from GitHub:
_macOS_arm64.dmgor_macOS_apple_silicon.dmg -
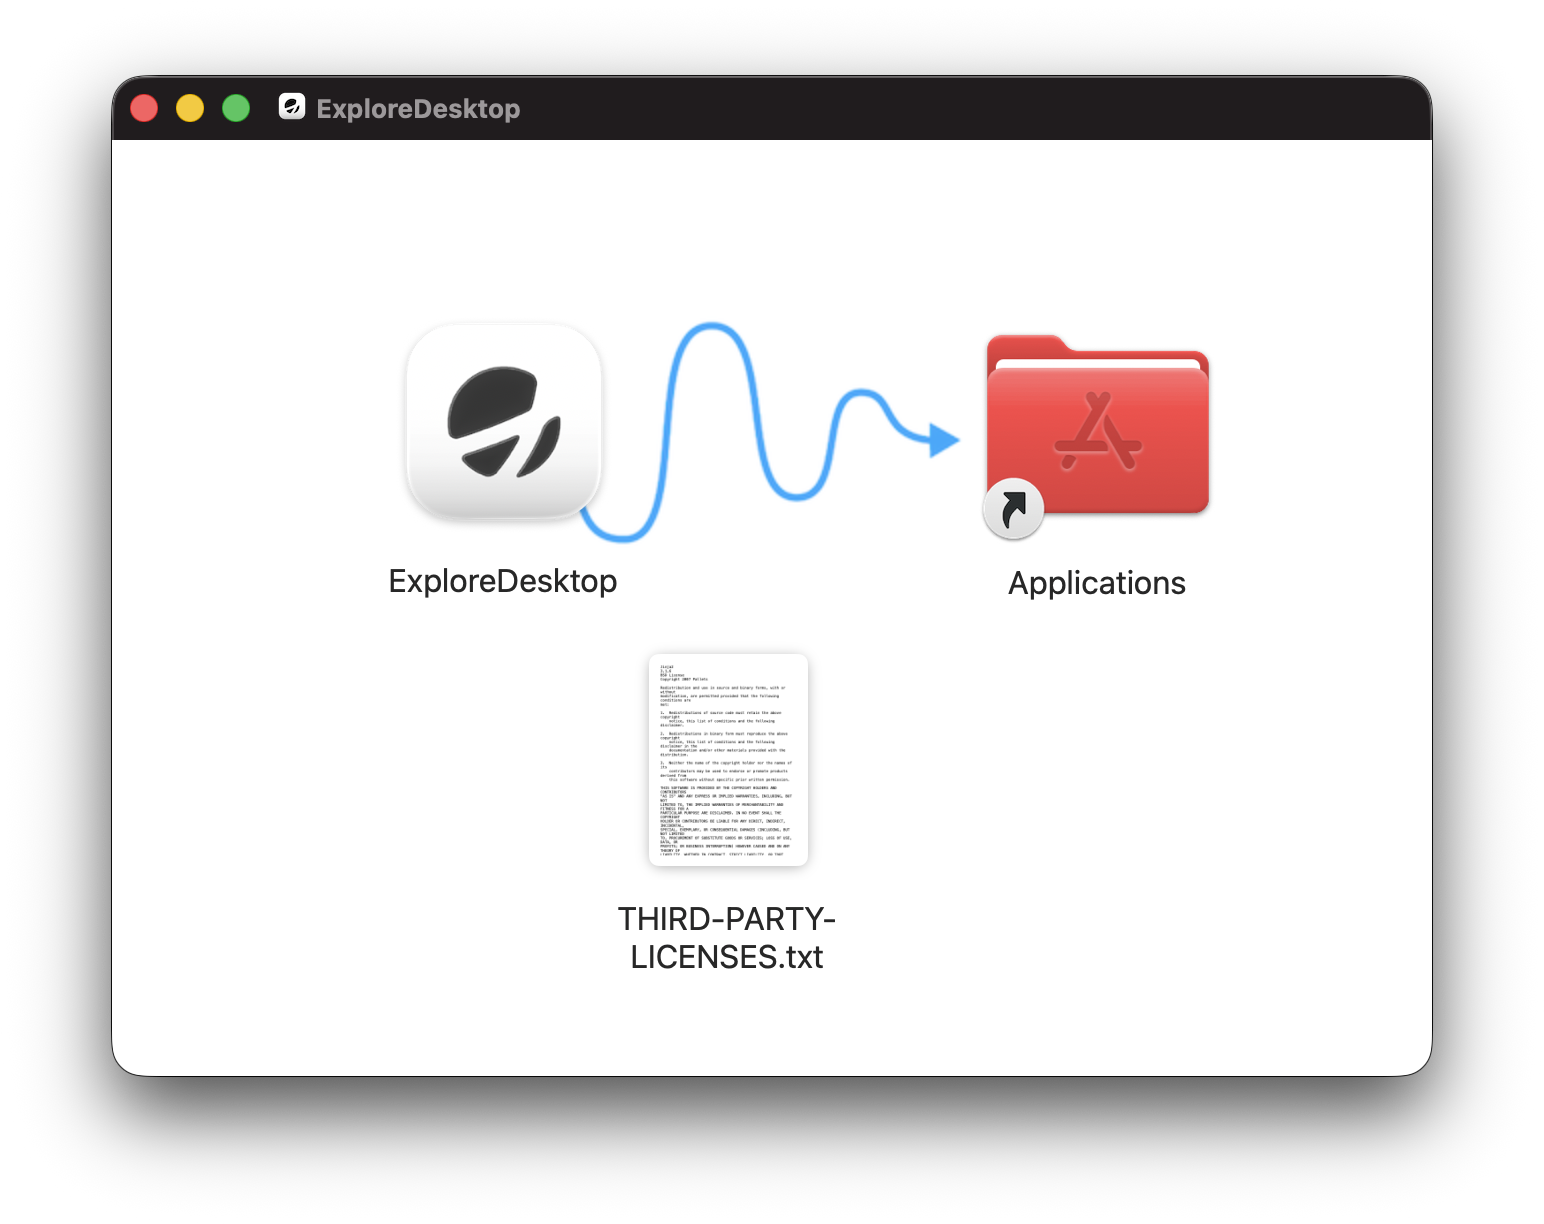
Double-click the .dmg file.
-
Read and accept the first party license.
-
In the window that now opens, drag and drop the ExploreDesktop app into the Applications folder.
-
If macOS rejects the .dmg, go to System Settings → Privacy & Security and click “Open Anyway” to allow the app.
-
Grant permissions for Bluetooth and Accessibility to ensure full functionality.
|
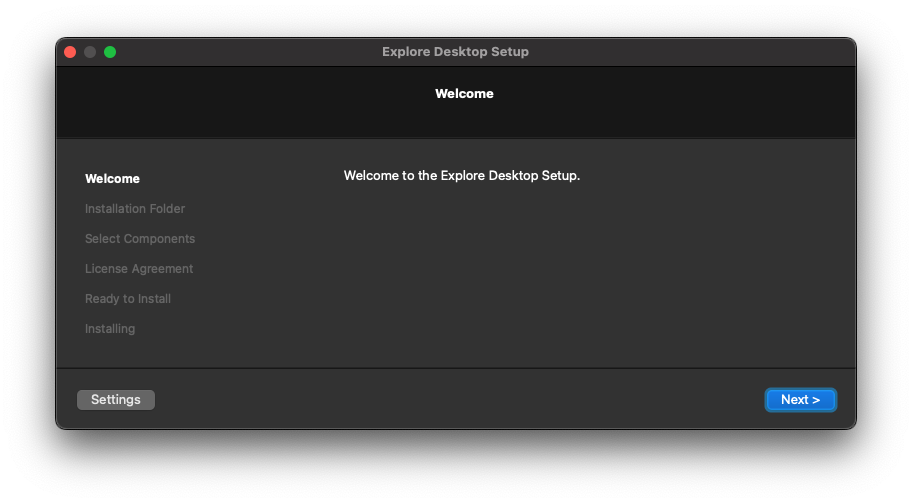
Launching
After installation:
-
Windows: Start from the Start Menu or installation directory.
-
macOS: Double-click the application in the Applications folder or use Spotlight search. Upon first launch, ensure Bluetooth and system permissions are granted for full feature access.
The status bar at the bottom of Explore Desktop contains:
-
The connection status of your Explore hardware
-
The firmware version of your Mentalab Explore amplifier
-
The battery level of your Mentalab Explore amplifier
-
The temperature of your Mentalab Explore amplifier
-
The Explore Desktop version