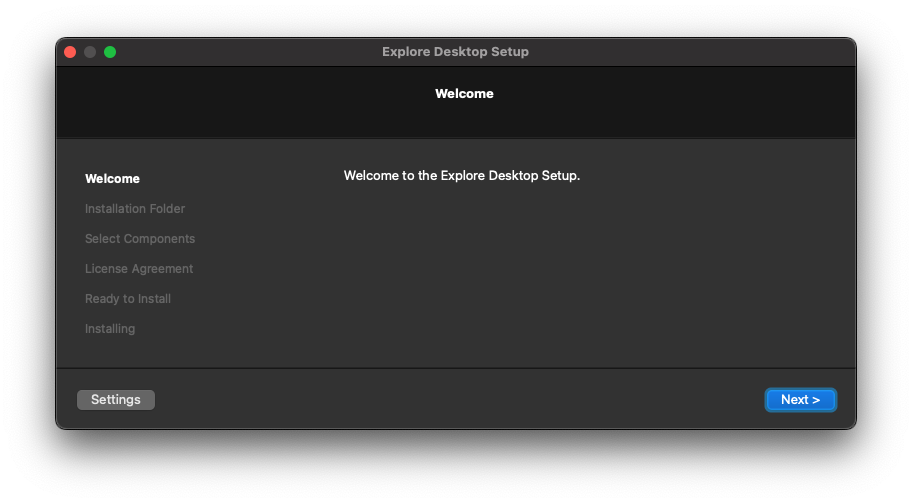
Getting Started
Installation
Windows
-
If you haven’t already, download the latest Explore Desktop version or Explore Desktop Legacy version 0.7.4 from GitHub. Select the file ending in
_windows.zip. -
Double-click on the installer and follow the on-screen instructions.
-
Once installed, Explore Desktop will reside in the
Explore Desktopfolder in your installation directory.
Mac OSX
-
If you haven’t already, download the appropriate Explore Desktop installer from GitHub. The file you should select depends on your Mac chip. If your Mac uses an M chip, download the file ending in
_macOS_arm.zip. Otherwise, download the file ending in_macOS_intel.zip. -
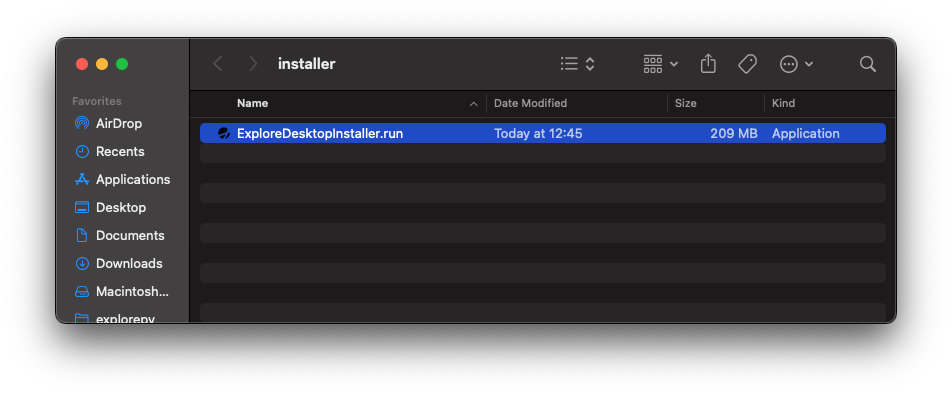
Unzip the downloaded
ziparchive and then double click the newly unpacked.runfile to launch it.
- Follow the on-screen instructions to install Explore Desktop on your machine.
That’s it! All you need to do now to launch Explore Desktop is double click it in your Applications folder or search for “ExploreDesktop” and launch it from your search results.
Applications folder and the ExploreDesktop installation folder in your user folder). This will ensure that the new version is placed into Applications and picked up properly by the search and Launchpad.
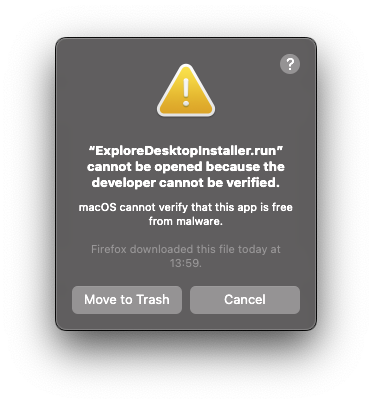
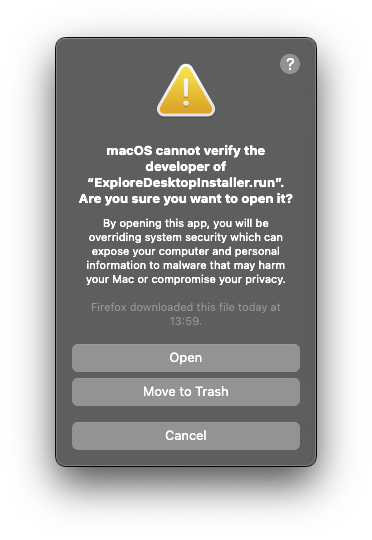
If you downloaded an older version of Explore Desktop for Mac, you might have to explicitly allow your operating system to launch the installer. In this case you can follow these steps after double clicking the downloaded .run file:
- A warning will pop-up informing you that the installer couldn’t be opened because the developer couldn’t be verified. Click “Cancel” to close the pop-up.
- Open the System Settings, go to “Privacy & Security” and scroll down to the “Security” section. A text indicating that the installer was blocked from running will show up here. Click the “Open Anyway” button.
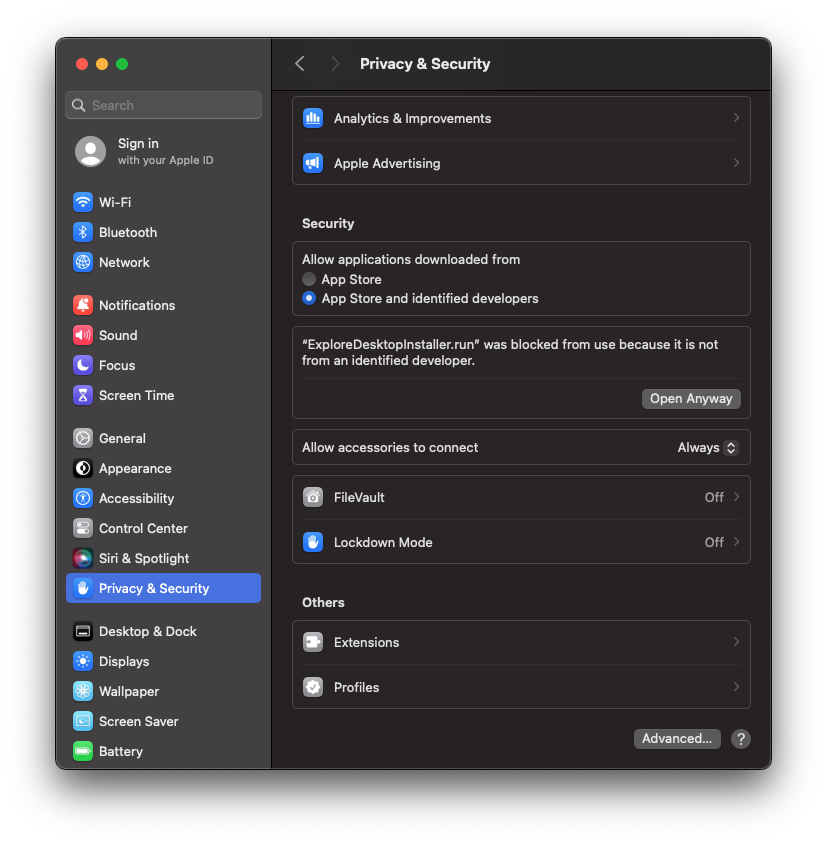
- A new warning will pop-up informing you again that the developer couldn’t be verified. Click on “Open” to launch the installer.
In case this does not work for you, it is possible to override the permissions for the installer using the terminal. To do so, you can follow the following steps after downloading the installer:
- Right-click on the downloaded file and click on
Show Package Contents.

- Navigate to the Mac OSX folder and open a terminal.
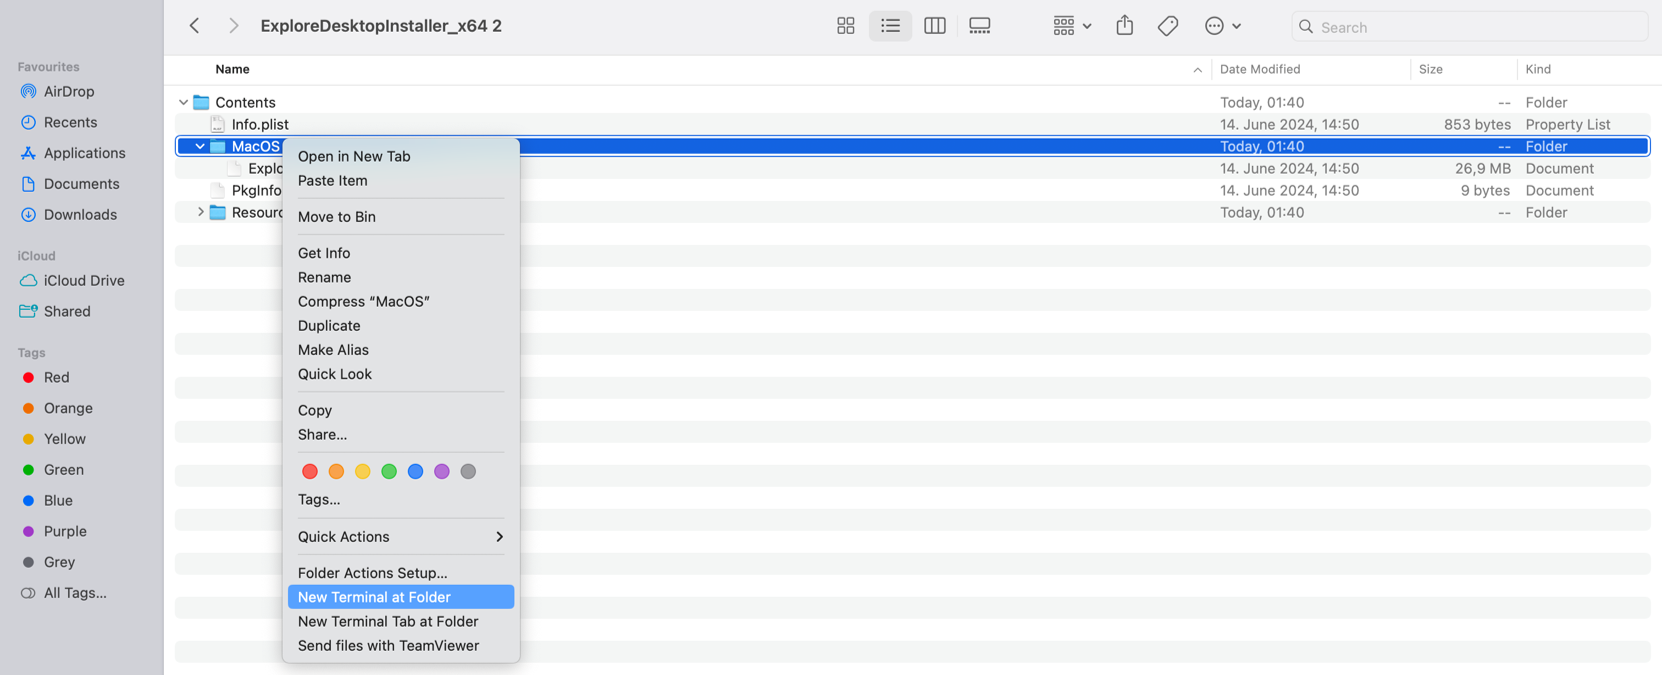
- Set the appropriate permission using the
chmod +x ExploreDesktopInstaller_x64command. The screenshot demonstrates this below. Doing this will give Explore Desktop permission to install.

-
Right-click on the top level file
ExploreDesktopInstaller_x64file and installExploreDesktop. -
Head to
Privacy & Securityand ensure that both Bluetooth and Accessibility permissions forExploreDesktopis enabled. Make sure to remove the current Explore Desktop entry from both Bluetooth and Accessibility sections and add it again.

- Now right-click on the installed
ExploreDesktopfile and selectOpen.

The status bar at the bottom of Explore Desktop contains:
- The connection status of your Explore hardware
- The firmware version of your Mentalab Explore amplifier
- The battery level of your Mentalab Explore amplifier
- The temperature of your Mentalab Explore amplifier
- The Explore Desktop version
For more information or support on other platforms, do not hesitate to get in contact at: support@mentalab.com